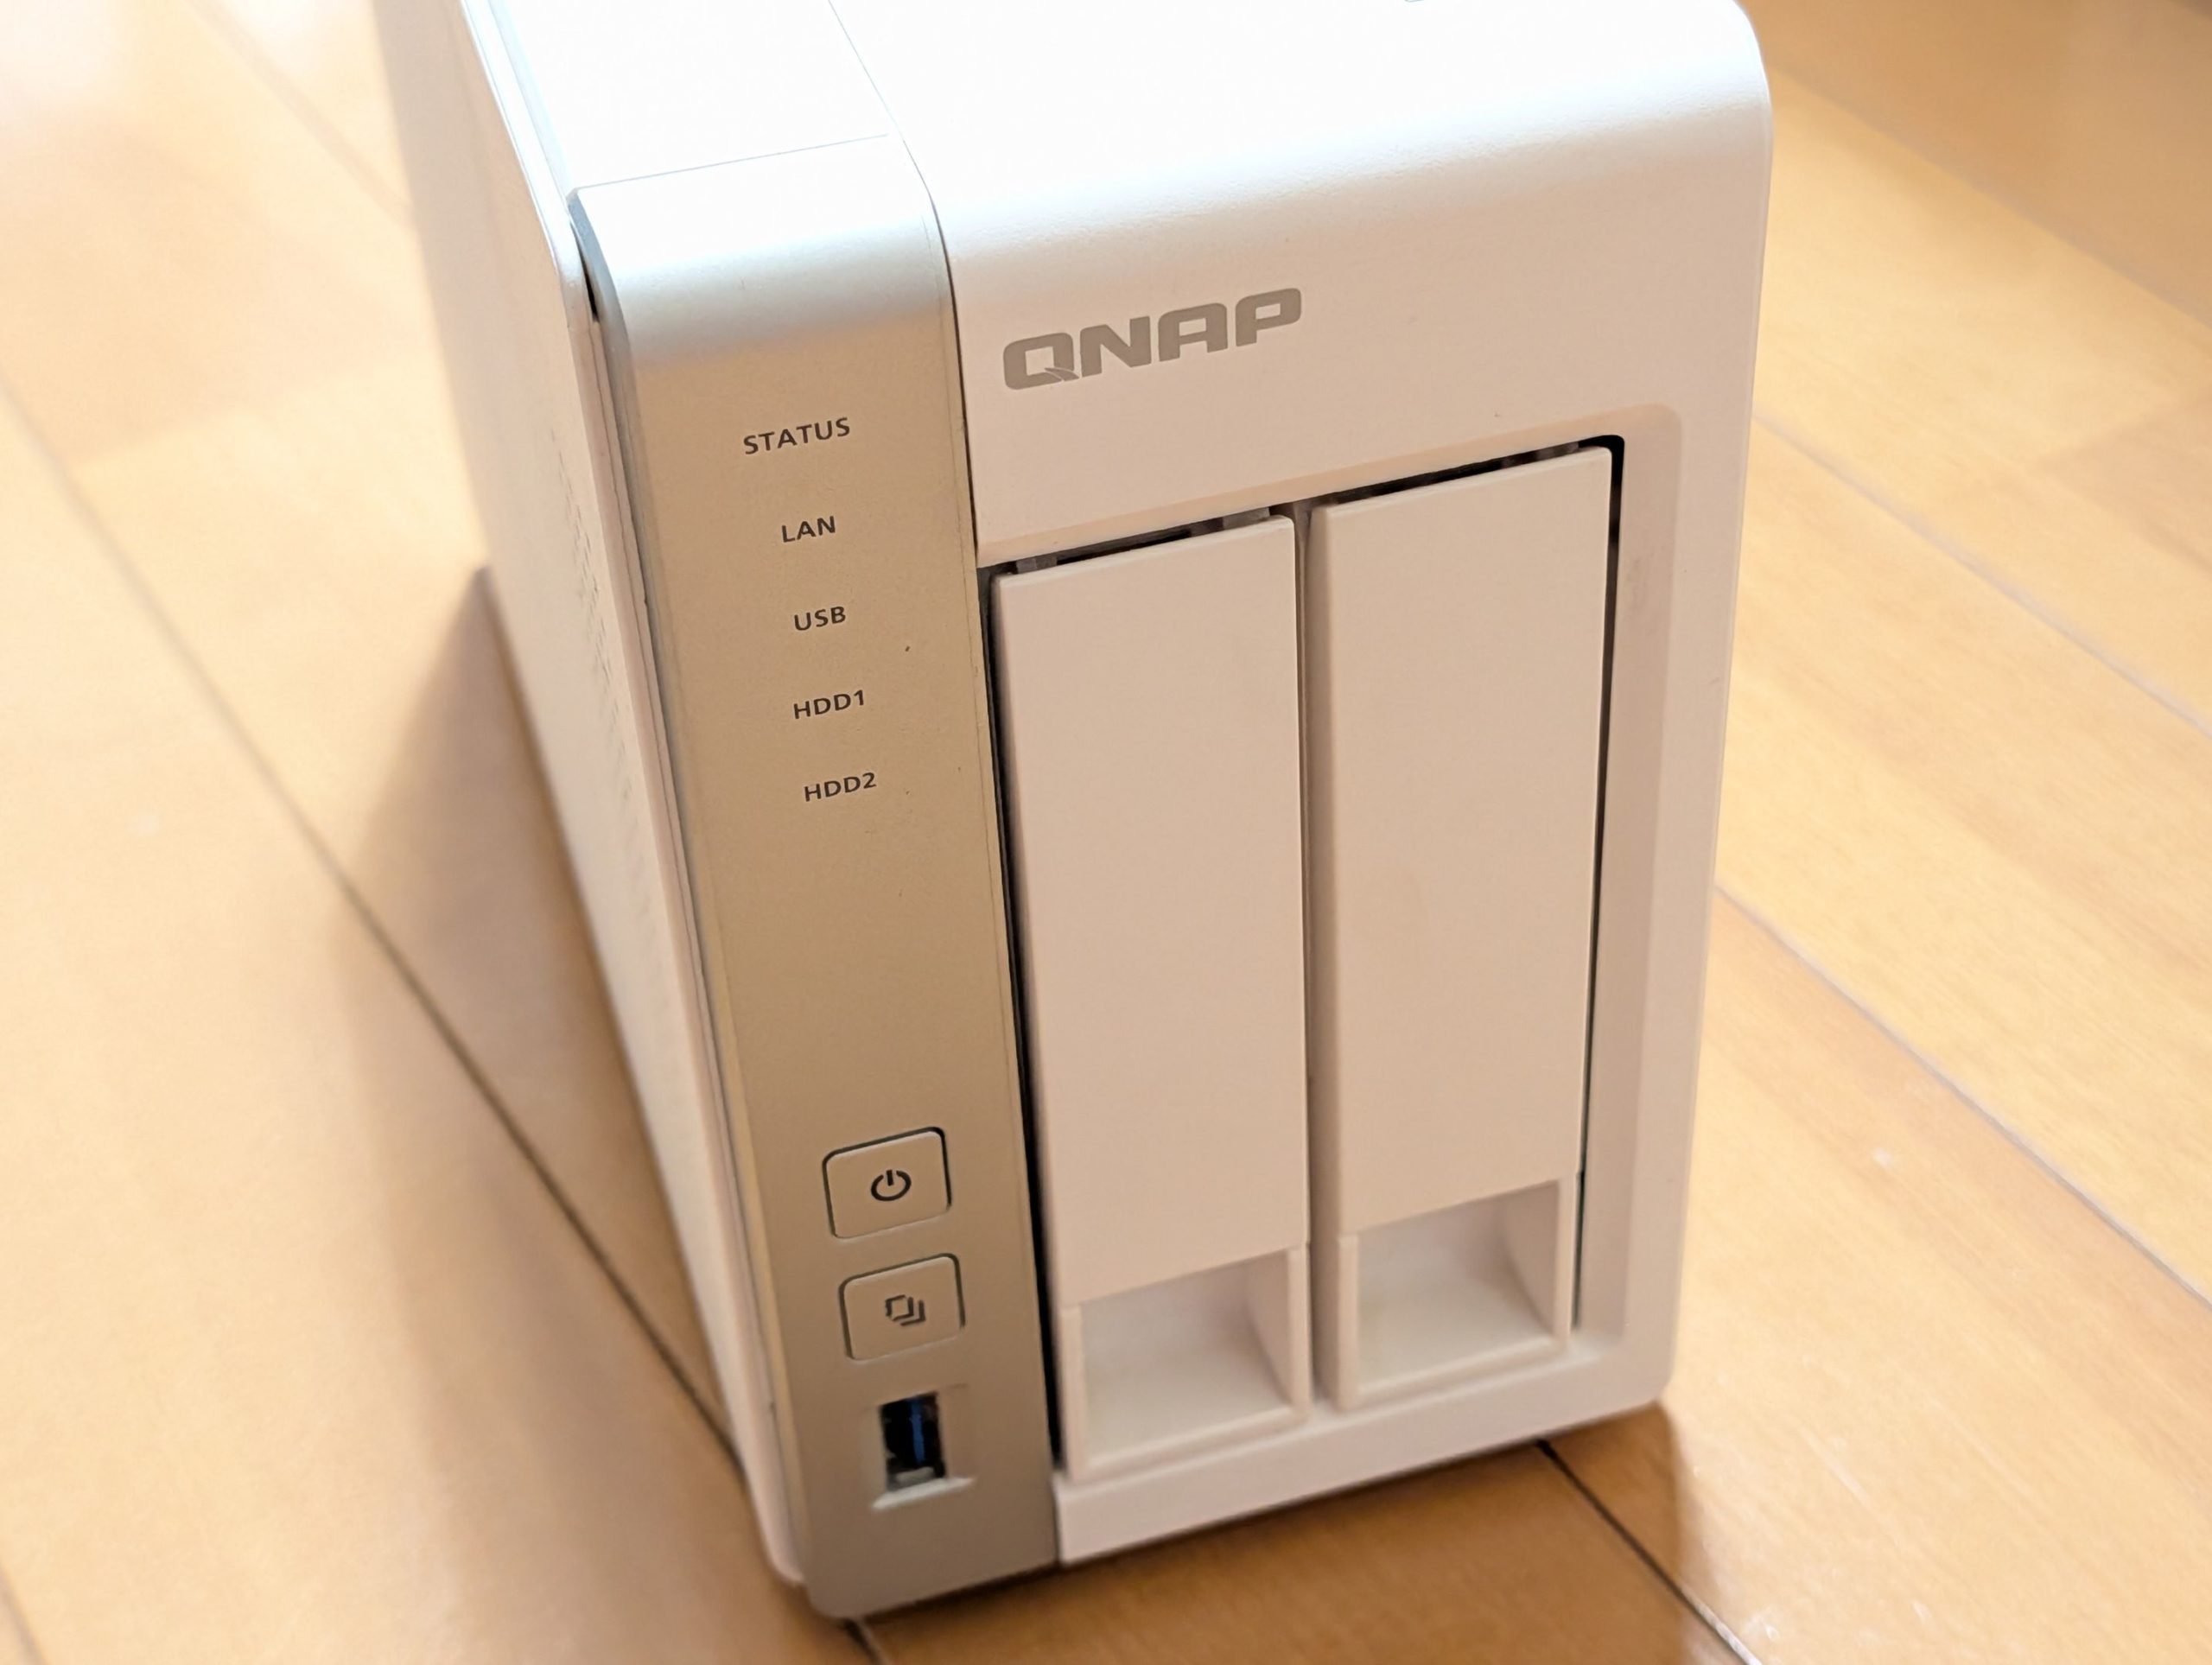
It’s probably because I love photography, but I have a habit of snapping away innocently, and I’ve been taking an average of about 7,000 photos a year for many years now. That’s why, nearly 10 years ago, I set up a simple RAID1 (mirroring) on a QNAP NAS to use it as a photo storage solution that also served as a backup. Even with cloud services becoming quite affordable recently, I still have such a massive amount of data that I’ve continued to use my NAS in conjunction with them. But, naturally, it was getting old, and I wanted to migrate to a newer model. However, since it was a decade-old veteran, the thought of the migration effort made me hesitate to take the plunge.
About the New NAS I Migrated To
When I first bought my NAS, I used it for more than just a file server—like setting up a web server to host my own webpages. But recently, it’s just been a file server. So, for the new NAS, options included migrating to something from Buffalo or IO-DATA, or even a simple file server directly attached to a router. I also looked into other popular general-purpose NAS brands besides QNAP, like Synology, thinking they might be good.
Although I mentioned it was just a file server, I was also running tasks like regular backups from the NAS to cloud storage (double backup), so I figured a general-purpose NAS would be better than something too simplistic.
Migrating Between QNAP NAS Devices: Just Swapping HDDs?
Amidst all this, I discovered an article claiming that with QNAP NAS, migration could be completed simply by installing the HDDs from the old NAS into the new model. If this really worked, I thought the migration process I had in mind, detailed below, would become dramatically easier and cheaper, without needing to buy extra HDDs.
【My Original Migration Plan】
- Prepare the new destination NAS, purchase two HDDs, and build RAID1.
- Copy data from the old source NAS to the NAS set up in step 1.
- Configure the settings of the old source NAS (Samba settings, related user account creation and permission settings, cloud storage backup settings, etc.) on the new destination NAS. For Samba, verify access from PCs of family members, including my own.
【The New Migration Procedure】
- Back up data from the old NAS (actually unnecessary since important files are already backed up to cloud storage).
- Swap the HDDs from the old NAS into the new NAS.
- Verify Samba operation and other settings.
If this worked, it would be fantastic! No need for any configuration tasks like RAID setup, Samba settings, or user account creation. Plus, I wouldn’t have to buy new HDDs just to ensure a smooth migration.

In my case, while my usage had decreased, the performance of newer models had significantly improved. So, instead of migrating to a higher-end model as in the example above, I wanted to move to a lower-end model (which was still better than my 10-year-old NAS). I was a bit worried about this, but since the following article showed a very similar pattern to mine, successfully migrating just by swapping HDDs despite some minor issues, I decided to go for it.
A Very Well-Thought-Out Migration UX, Even Considering Older Models
I shut down the old NAS, removed the two HDDs that formed the RAID1, installed them into the new NAS, connected the power and LAN cables to the new NAS, and powered it on. The usual QNAP beep sounded, indicating it was booting up. I figured at least a RAID1 rebuild or similar process would occur, so I left it alone for a while.
Previously, I had operated the NAS with a static IP within my private LAN. When I tried to access the administration screen using that IP, it seemed this setting hadn’t been carried over. So, I checked the IP address assigned to the new NAS from the router and accessed it, which worked without any issues (you should also be able to find it by searching the local network using QNAP’s Qfinder Pro).
In the admin interface after accessing it, a list of old apps not supported by the new OS was displayed, prompting me to take action. The app I used for cloud storage backup was one of them, but the new app was user-friendly, and I was able to set it up easily. Most of the other apps were hardly used, so deleting them was no problem.
After that, I changed the IP setting from DHCP to a static IP, confirmed that user accounts were carried over without issues, and that Samba settings were also retained and working perfectly. Then, I checked through all the new capabilities of the NAS, such as enhanced security and a new VPN server (which I had hesitated to use on the old model due to stopped updates). Although I was worried about migrating from a NAS I’d used for nearly 10 years, it took less than an hour, with no real stumbling blocks, and the migration was so surprisingly easy that I was genuinely astonished.
It’s not the kind of product you replace often, but once you experience its smoothness, you’re sure to stick with QNAP next time. I thought it was a very well-designed user experience, and there’s a lot to learn from it.


コメント